Odoo ERP software has different types of modules which are designed taking small to medium- sized businesses into account. These modules help upgrade each department of your company by automating key tasks.
For every company whether it is small or big, It is important to have a management team who analyzes the financial record of a particular operation of the company because managing expenses is not easy.
Today, we are going to discuss the Odoo 16 Expenses module, which smoothly manages your expenses. So, here we go.
How Odoo 16 Expenses Module Works?
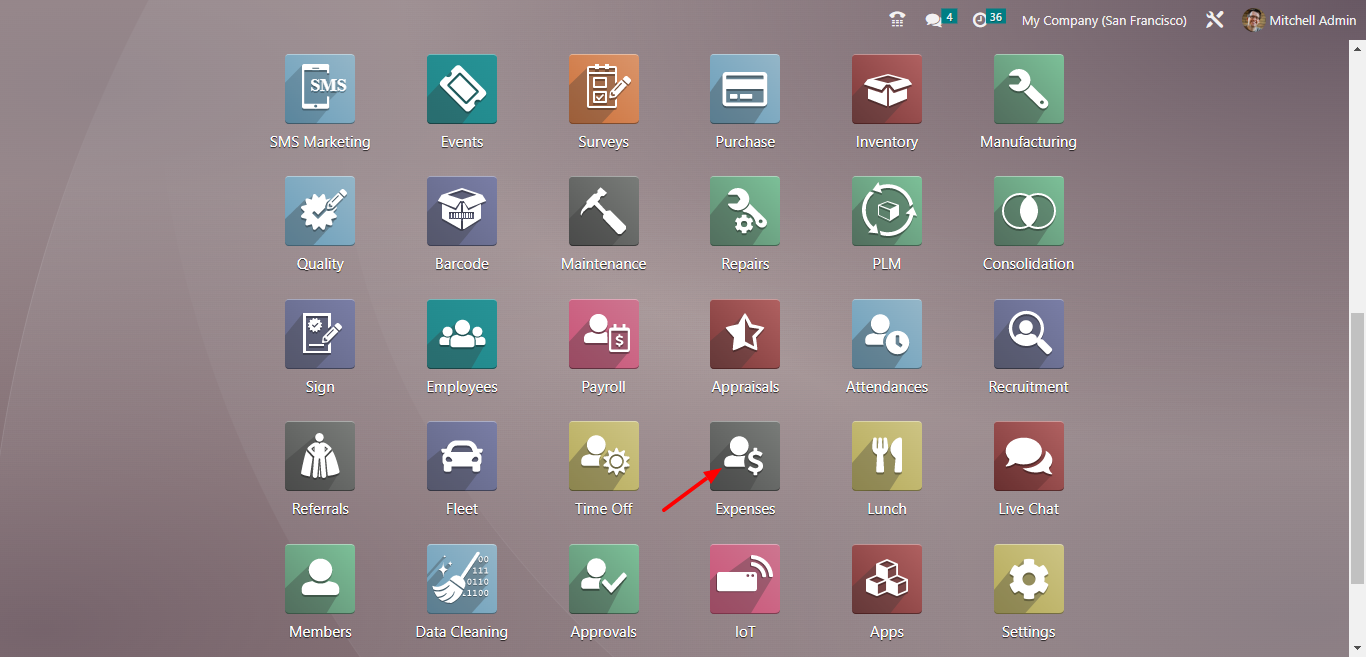
First of all, go to the dashboard and click on the Expenses module to access the Expenses module as displayed below.

Once you enter the dashboard, you will find the list of your filtered expenses. There are a few options given such as Expense Date, Description, Employee, Paid By, Activities, Analytic, Company, and Total Status as shown in the screenshot given below.
You will also have the Filters, Group By, and Favorites. In the Filter menu, you have so many options to filter given in the drop-down list as shown in the screenshot given below.
Inside the Group By field, you can group by My Expenses, My Team, Expense Date, and Former Employees.
You can also add a custom filter by using the Add Custom Filter tab as shown in the screenshot given below.
In the Favorite field, you have the "Insert view in article" option, which is used to insert the current view to a particular article. In the same way, you can use "insert link in article" option to reach the target view.
Here, we have different views to view the dashboard such as Kanban, List, Graph, and Pivot as shown below.
Now, open the Expenses dashboard in the Kanban view where you have two options "CREATE" and "UPLOAD" tabs. Using the CREATE button you can create the Expense and upload it with the help of the UPLOAD button. Now, click on the CREATE button to create the Expense as displayed below.
Enter the category in the Category field and total amount in the Total field. You have two options inside the Paid By field. Select the Employee (to reimburse). Specify the reference of the bill in the Bill Reference field. Choose the Expense date and expense account in the specified fields.
Select the customer to whom this is reinvoiced further. Choose the Analytic account under which you have two options "Projects" and "Departments". Find out the Analytic account and select the department as shown in the screenshot given below.
This is how you can create the expense. Once you create the Expense, save it. Now, you can attach receipt if required. You have the CREATE REPORT tab for creating a report as shown in the screenshot given below.
Remember that you have to submit it to the manager before creating a report. Click on the SUBMIT TO MANAGER to submit it to the manager as displayed below.
The new window has the APPROVE and REFUSE tabs. Either you can approve it or refuse using the specified tabs.
Click on the REPORT IN NEXT PAYSLIP to add it to next payslip as displayed in the screenshot given below.
Once you click on the REPORT IN NEXT PAYSLIP, your expense will be added to your next payslip.
Expense Management with Odoo 16 Expenses Module