Effective management is required for the grand marketing of your brand. Be it a small or big event, the proper handling of the event can catch the attention of a large audience. Hence, the event should be organized with ample preparation.
In this blog, we will explain to you how to generate booths and rooms in Odoo 15 Event module.
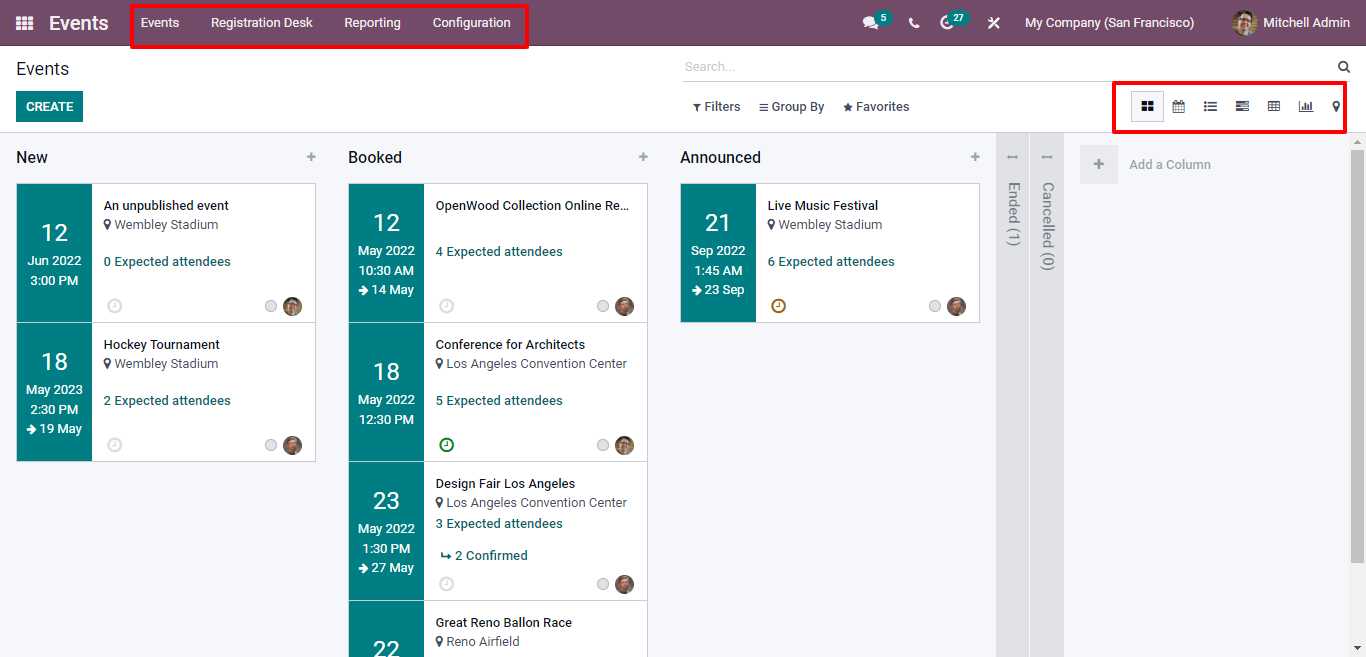
You can see the Event dashboard given below that displays a number of generated events along with time, date, and attendees. It can be viewed in the Calendar, Pivot, Gantt, List, Graph, and Kanban mode.
The Odoo 15 Event module includes some key tabs such as Events, Configuration, Reporting, Registration Desk as shown in the screenshot given below.
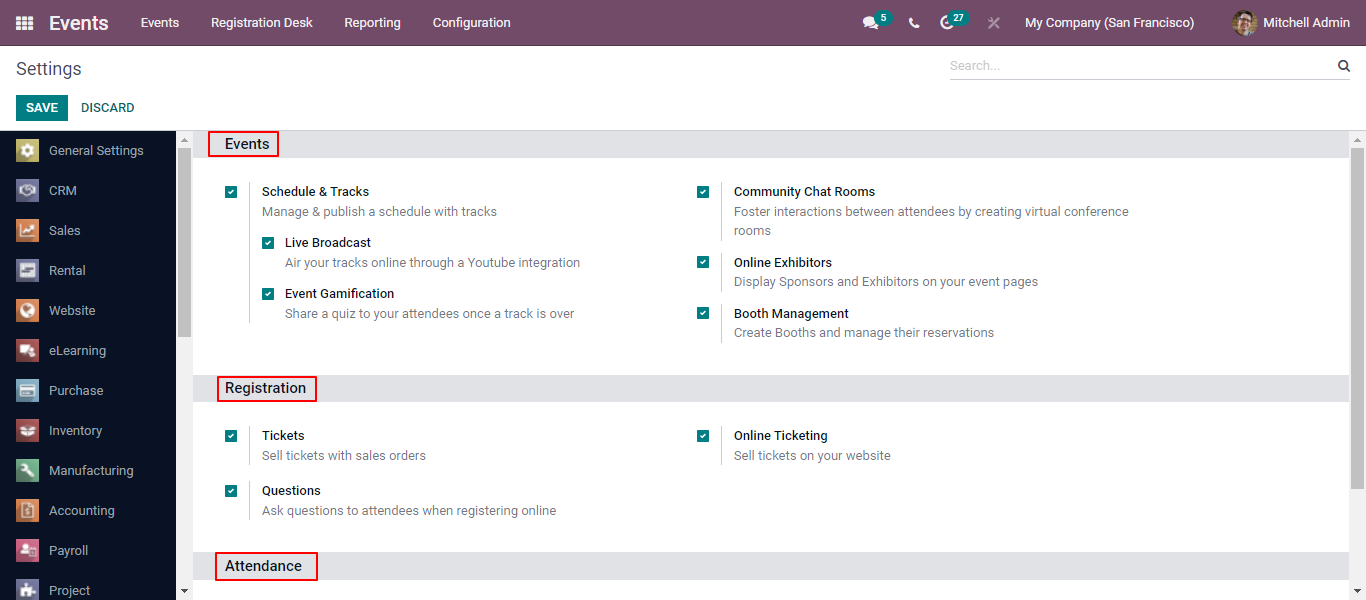
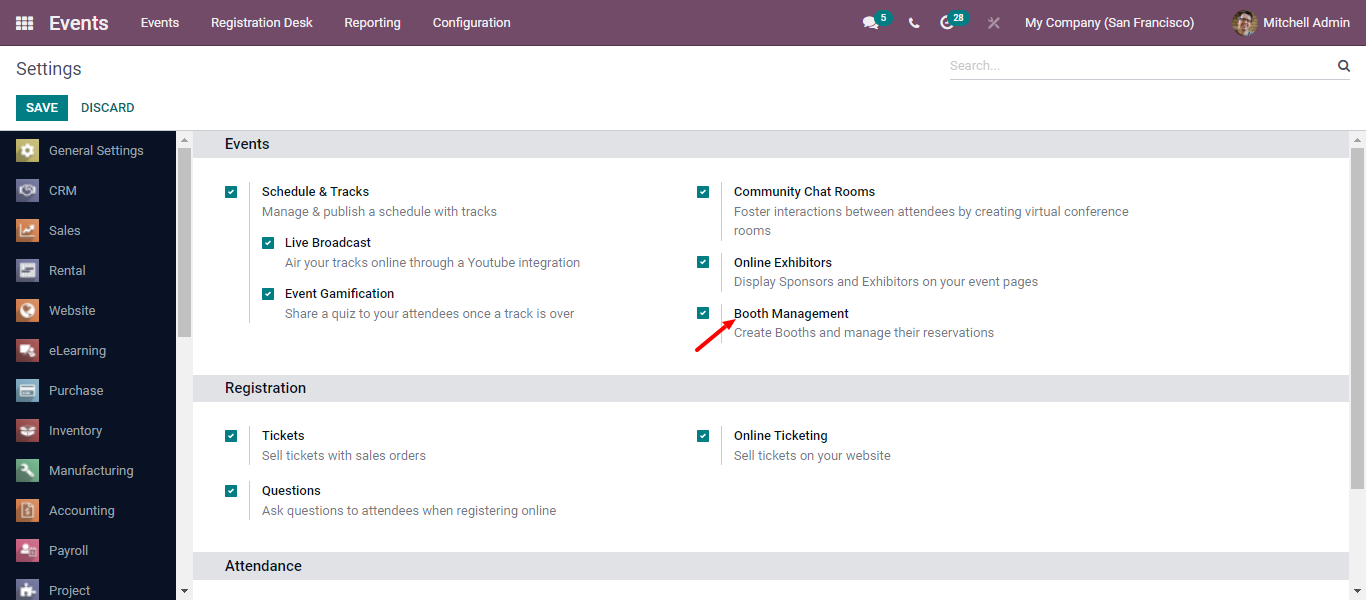
Click on the Configuration tab to go to the Settings window. With the Settings menu, you can enable the functions like Events, Registrations, and Attendance. You can manage the options given under the Events tab such as Schedule & Tracks, Community Chat Rooms, Online Exhibitors, Live Broadcast, Event Gamification, and Booth Management.
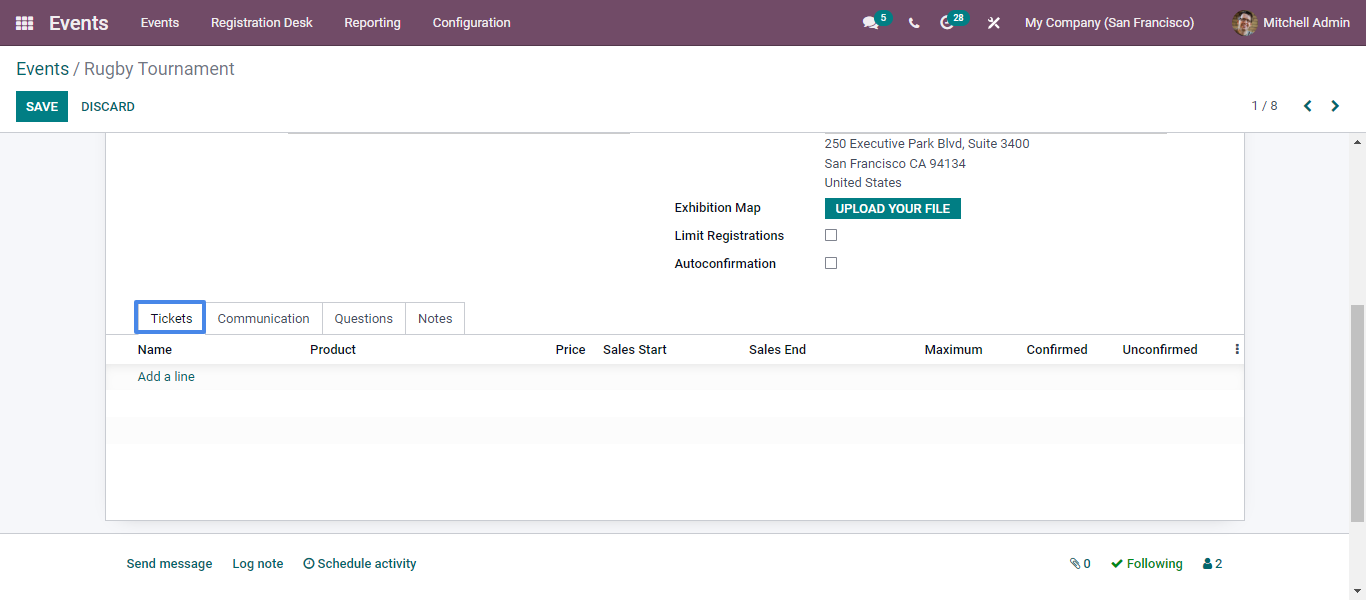
With the help of the Ticket tab, you can generate different types of tickets. In the Ticket section, you can mention the ticket price, and availability of the seats, and mark the seats as confirmed or unconfirmed as displayed in the image given below.
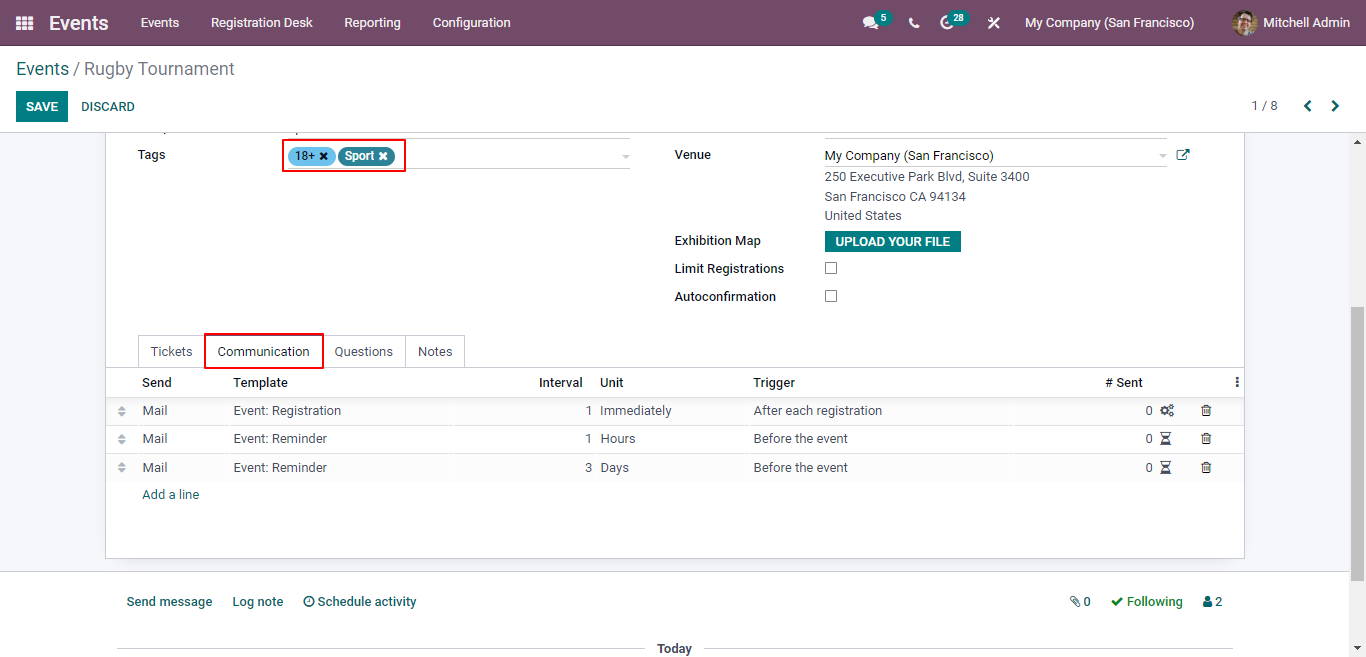
There is a Communication tab beside the Ticket tab, which can help you with strengthening ties with customers by enhancing your interaction with them. You can use the given templates under the Communication tab to reach out to the customers. Additionally, in the Notes tab, you can add notes and give instructions regarding the event. You can create event-related questions using the Questions tab as shown in the screenshot given below.
How to Generate a New Booth?
Let's go back to the Settings menu, and activate the Booth Management option given under the Tickets tab. As soon as you enable the Booth Management option, you will find the Booths menu in the Event window as shown below.
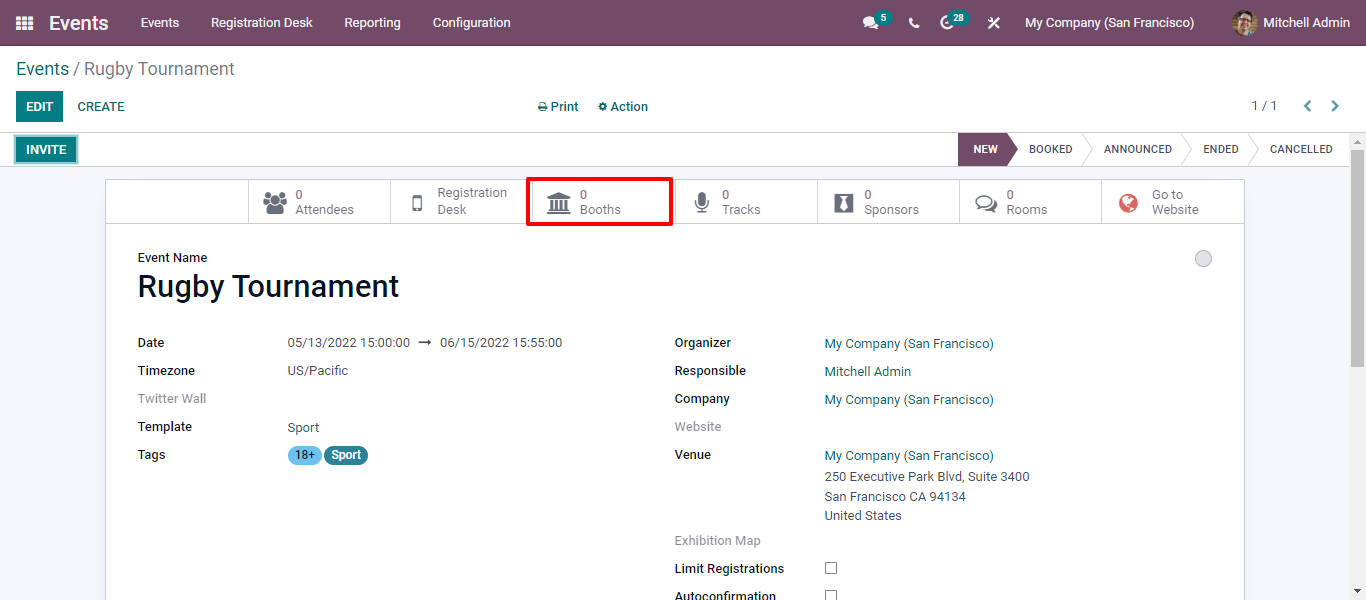
A new Booths window appears in front of you after clicking on the Booths icon as you can see in the screenshot given below.
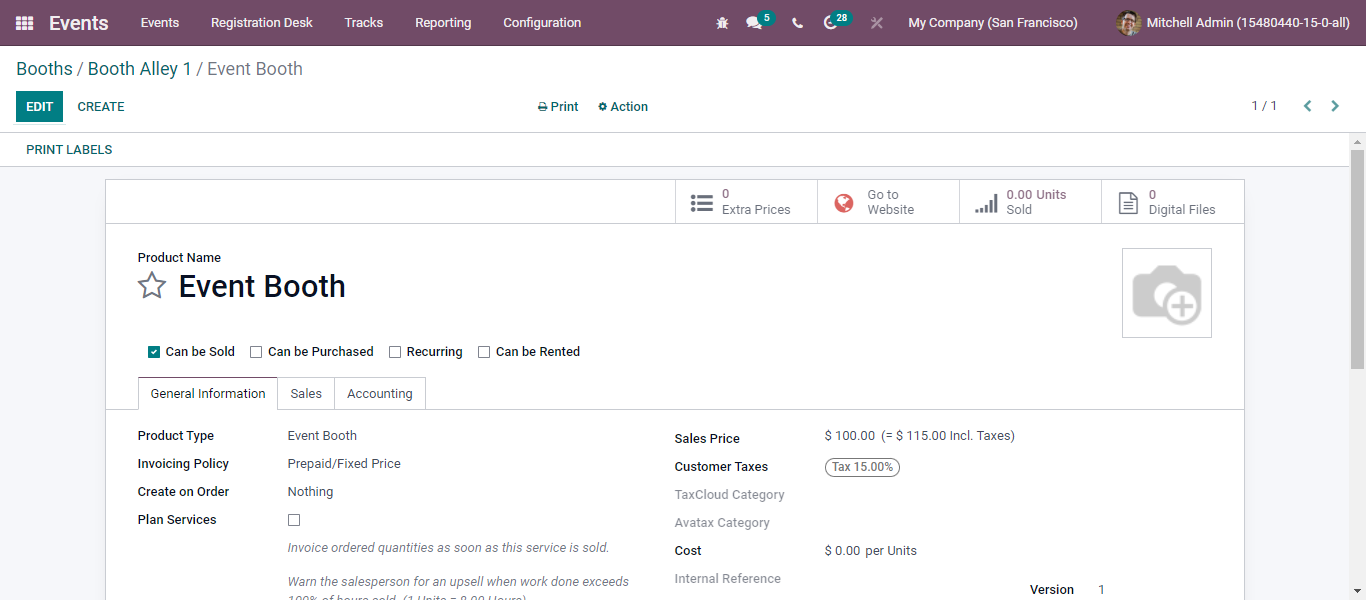
Click on the Create icon to create a new Booth. As shown below, you can enter the name of the Booth. Besides, add details in the given options under the Booth tab such as Booth Category, Product, and Price.

Additionally, you can change the name of the product and Sales price by clicking on the Edit icon. After that, save the changes by pressing the Save icon.
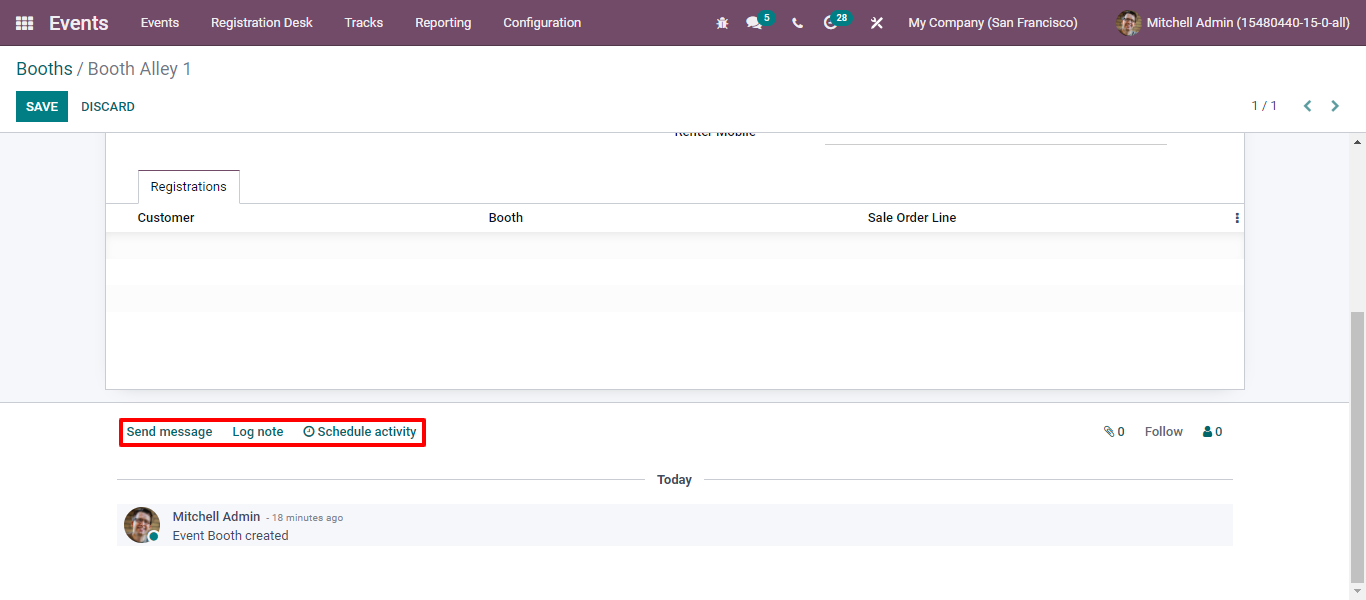
There are additional options like Send a message, Scheduled activity, and Loge note in this created event window. With the Send Message option, you can send messages to your followers. You can add notes in the Notes tab and plan Booth related activities.
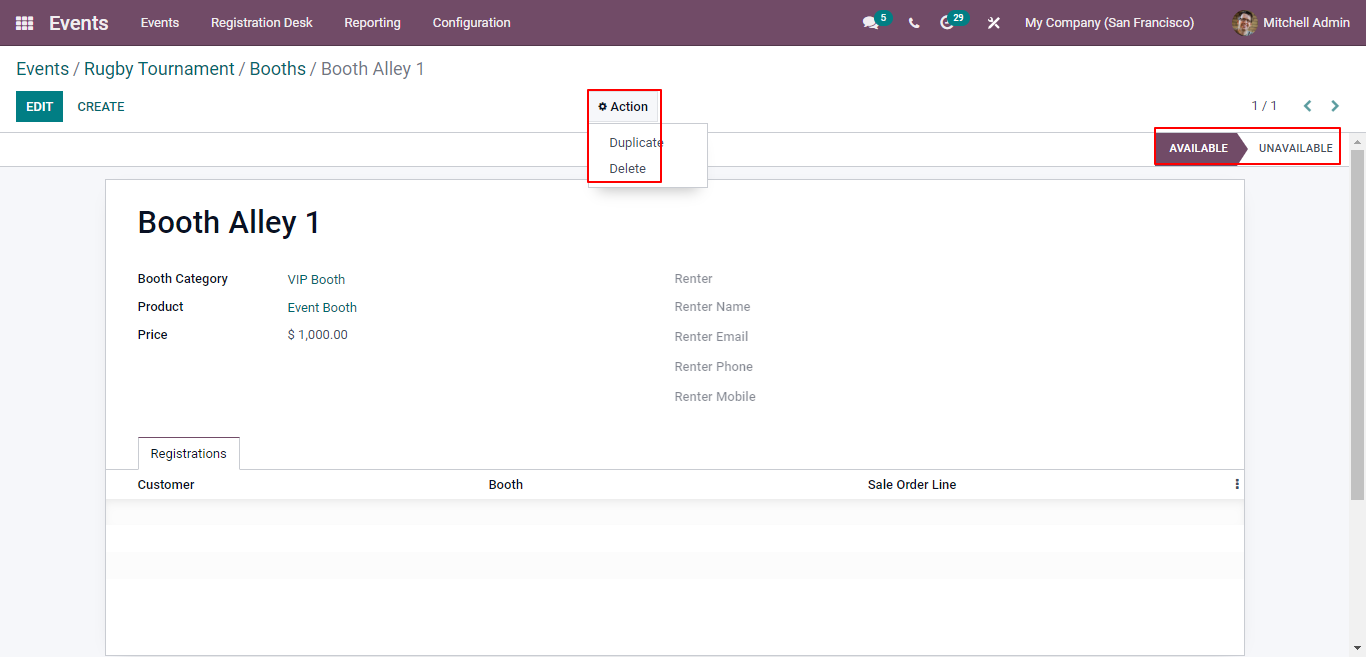
With the Available and Unavailable icons, you can let others inform about the availability of the Booth. In the window, you can see the Action button through which you can Duplicate or Deter Booths as shown in the screenshot given below.
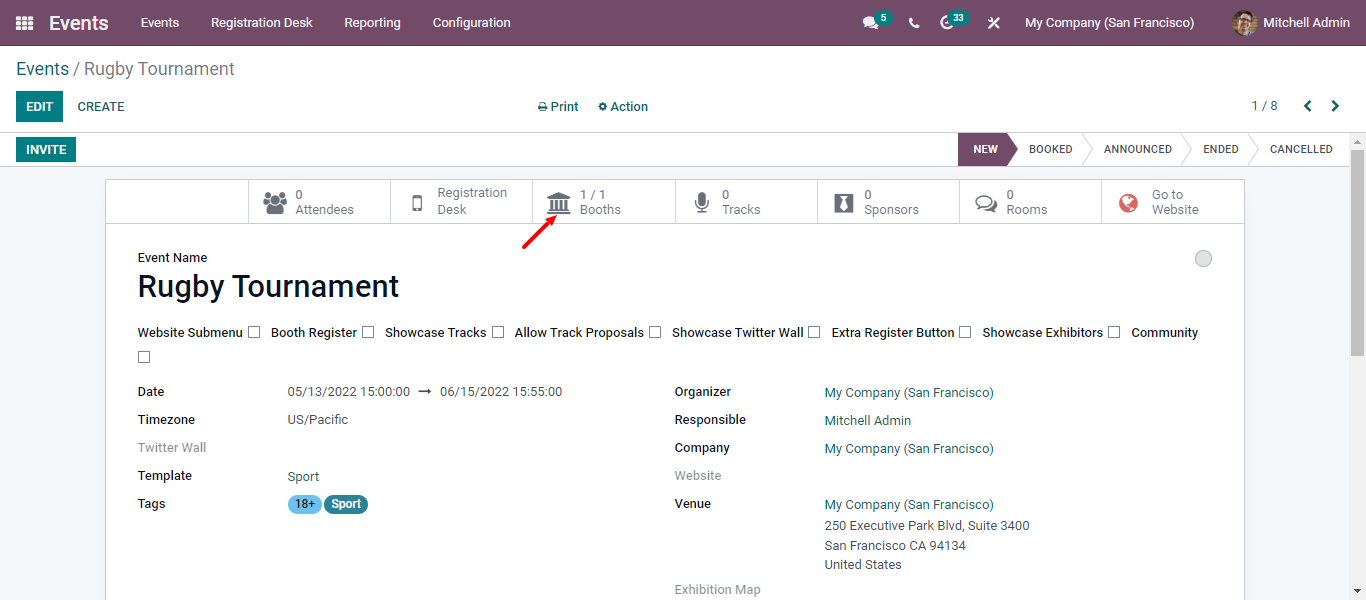
Once you save the data, you will find the number of Booths in the Events window as shown below.
You can view the Booths window in Kanban and List forms after pressing the Booths icon. You can easily place the Booths in various stages in the Kanban form depending upon the availability and unavailability of the Booths.

You can view the Category, Name, Status, and Renter of the Booth separately in the List view. You can click on the three-dots icon to add a custom field.

How to Create Rooms?
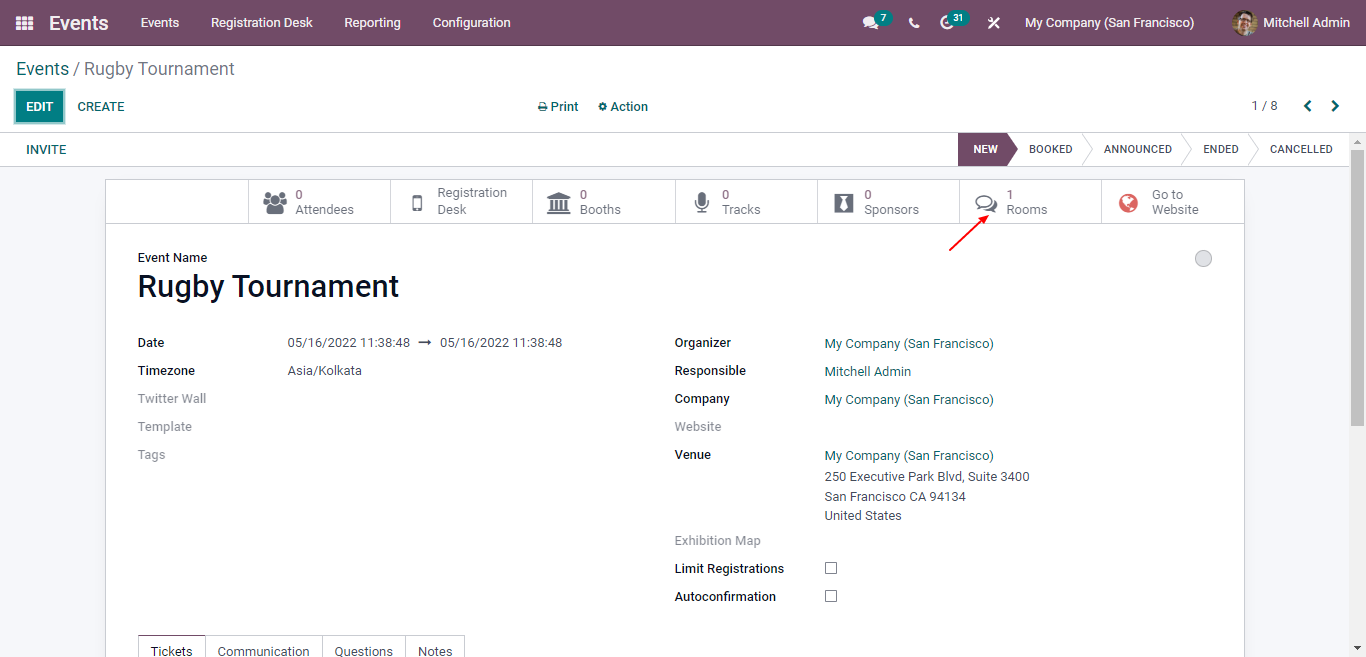
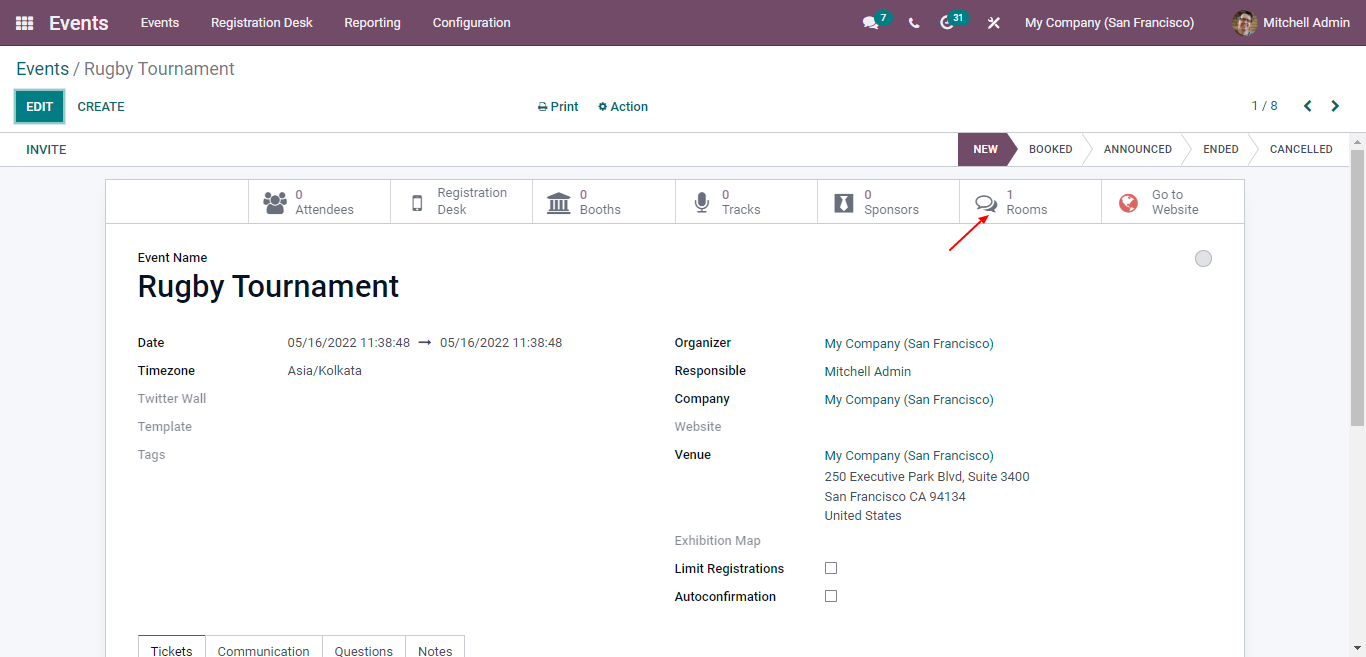
In the created Event, you can see the Rooms tab. Click on the Rooms icon to create a new room for the event.
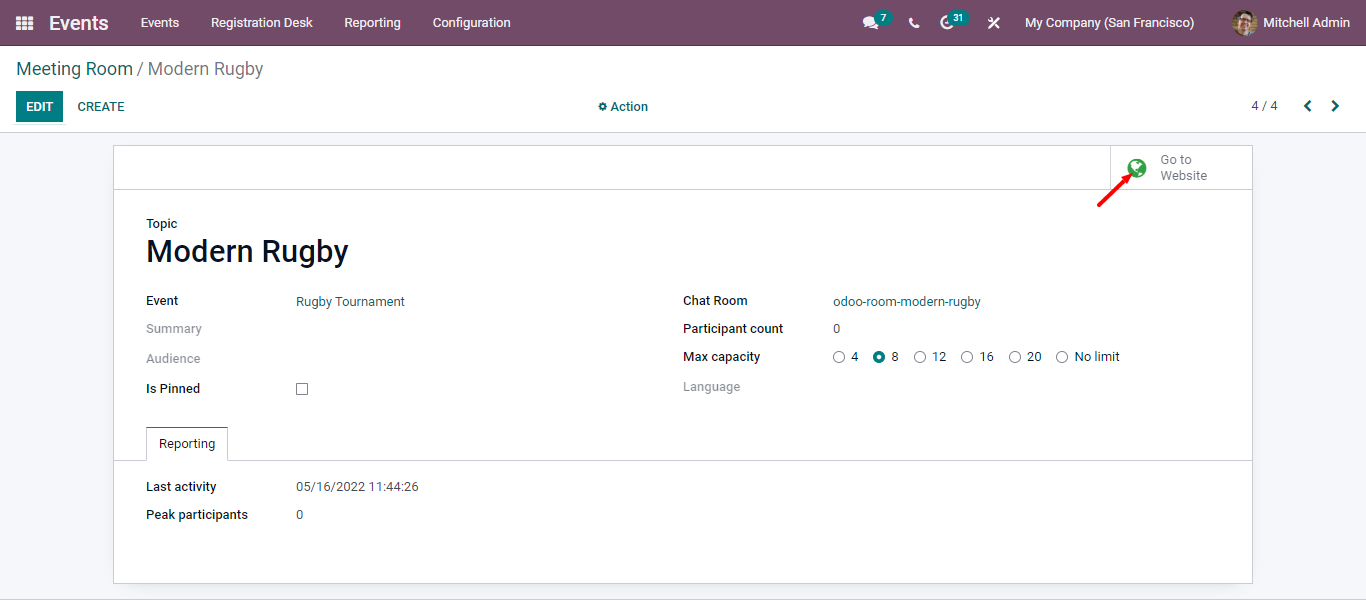
A new Meeting Room will appear after clicking on the Create button. Here, you can add Topic, Audience, and Summary of the Meeting. Moreover, you can select the maximum capacity of participants and language by using the Maximum Capacity and Language options. You can view the chat room after saving the data as shown below.
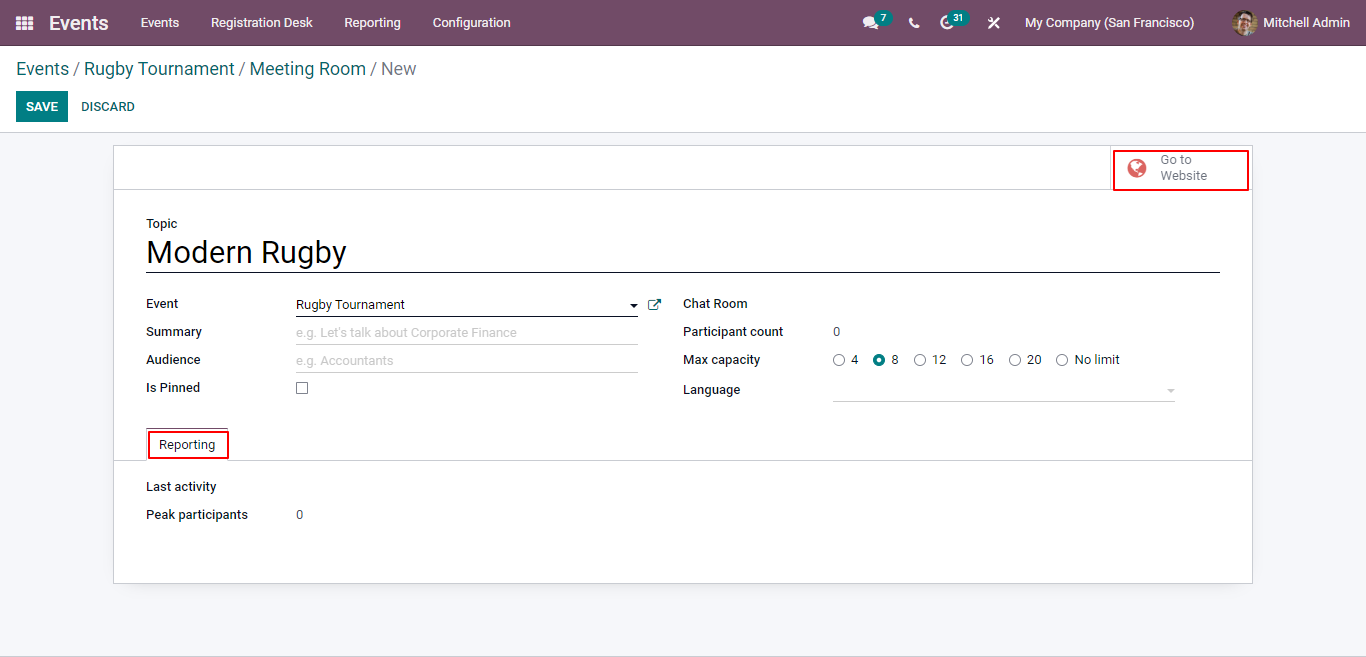
Click on the Go to Website button where you can publish the chat session of the meeting by clicking on the Publish button. You can effortlessly join the meeting by entering the name in the Website window as shown in the image given below.
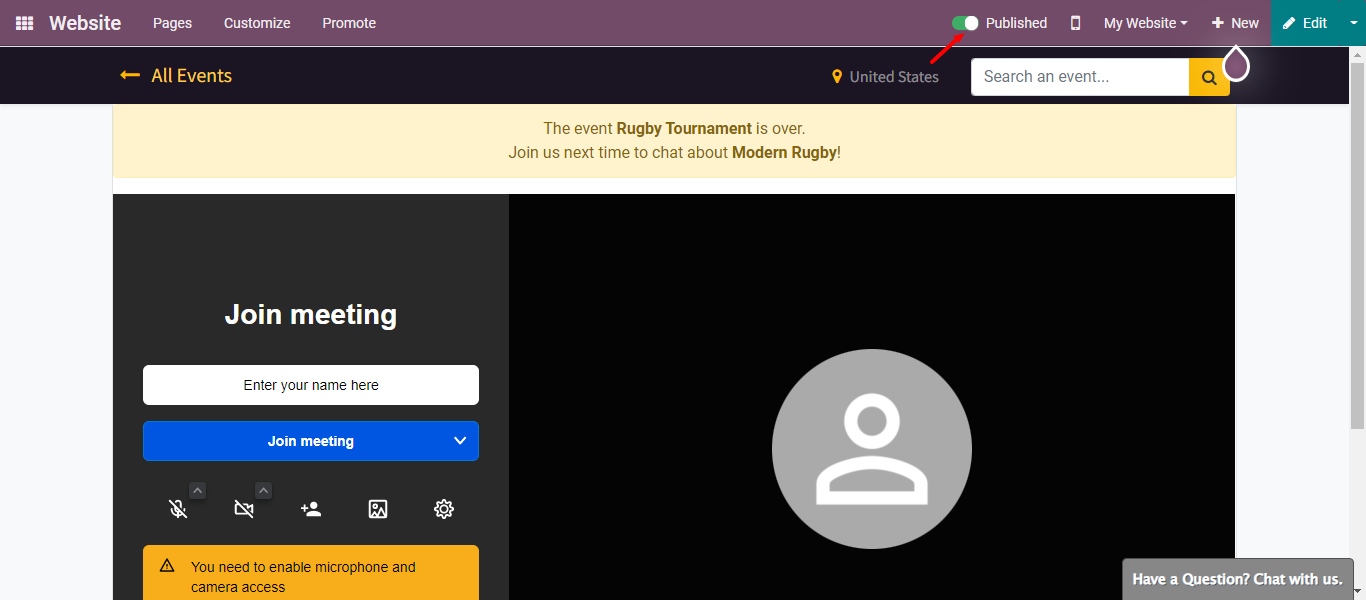
When you go back to the Rooms window you will find the meeting has been published. The green color of the Go to Website button is an indication that your meeting is published.
Finally, in the Event window, you can see the number of rooms.
How to Create Booths and Rooms in Odoo 15 Event Module?